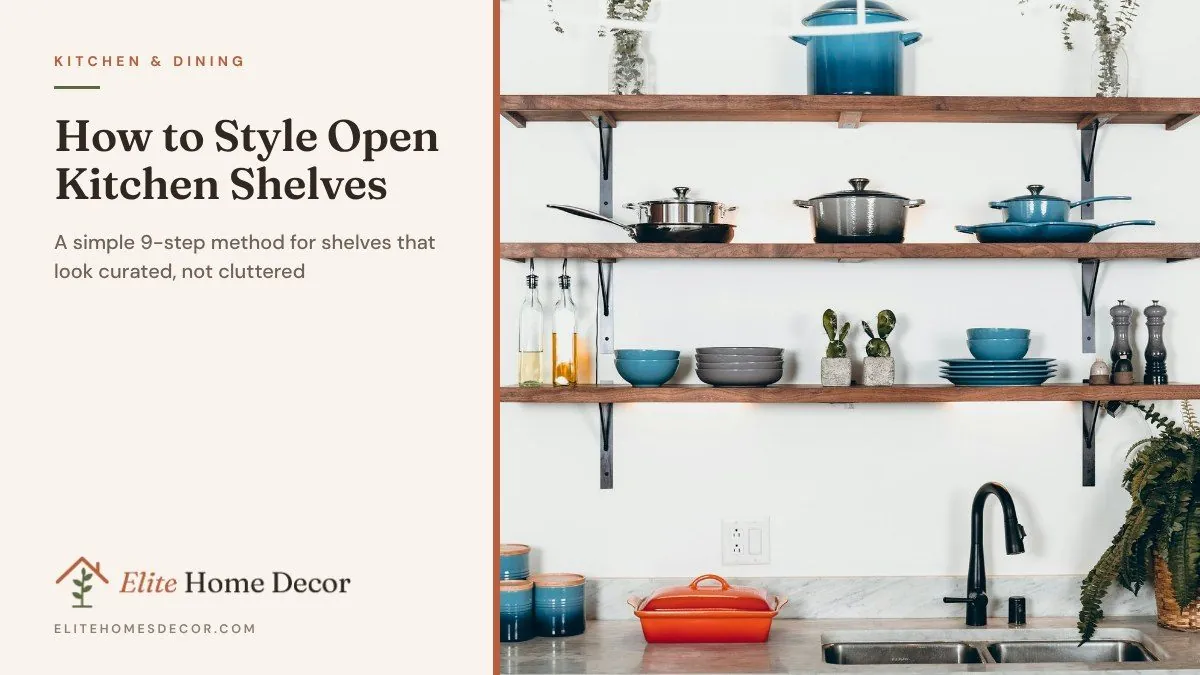
Open shelves can look beautiful or chaotic, and the difference is in the styling. The trick is to mix the things you use every day with a few decorative pieces, and to leave enough empty space. Follow these nine steps for shelves that look good and stay practical.
Open shelving has become popular in kitchens of every size, from small rentals to large family homes. It makes everyday items easy to reach, shows off pieces you love and can make a small kitchen feel lighter than a wall of closed cabinets. But it also needs a little more thought, because everything is on display.
Step 1: Clear Everything and Start Fresh
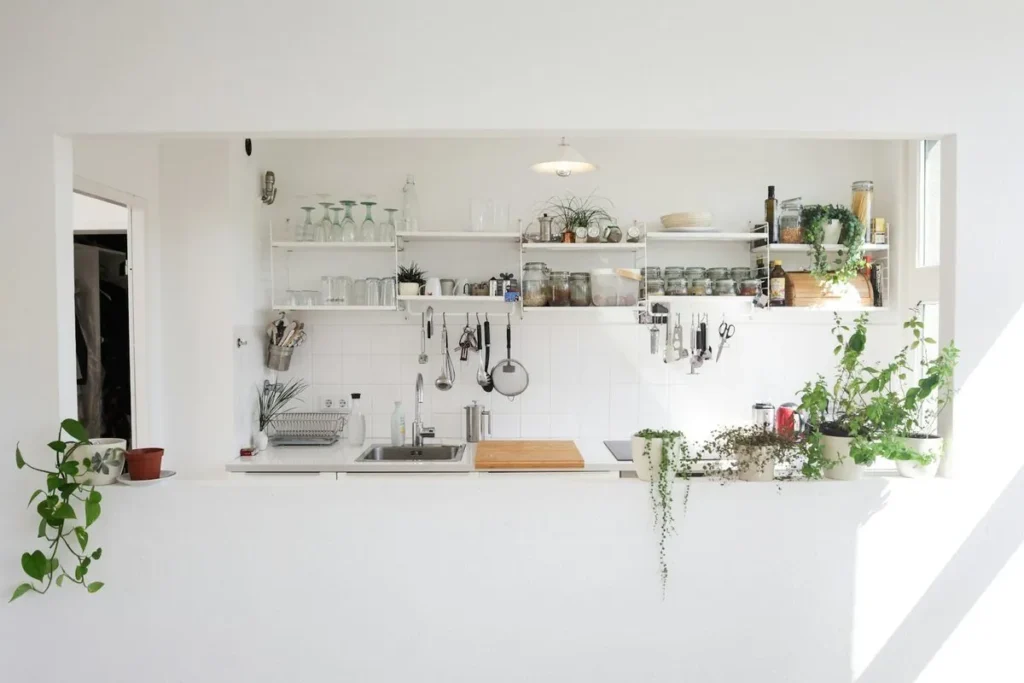
Take everything off the shelves and wipe them down. It is easier to style from scratch than to rearrange.
As you take things down, sort them into three piles: items you use every day, items you use occasionally and items you rarely use. Only the first pile, plus a few decorative pieces, should go back on open shelves. Occasional and rarely used items belong in closed cupboards, where they stay clean.
Step 2: Start With Everyday Dishes
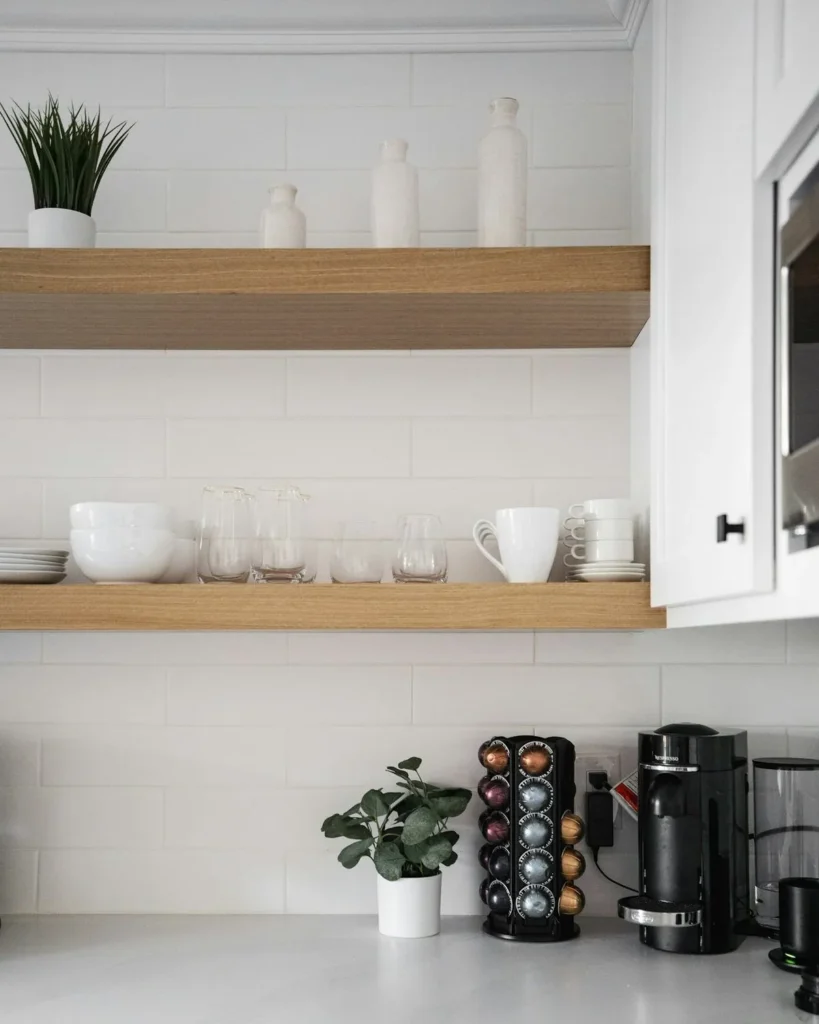
Stack plates, bowls and glasses you use daily on the lower shelf, closest to where you need them. Matching or tonal dishes look calmest.
Stack plates in piles of six to eight, with the largest at the bottom, and line up bowls in neat stacks beside them. Glasses look best grouped by type in rows. If you have room, keep everyday dishes on the shelf nearest the dishwasher or sink, so unloading is quick.
Step 3: Group by Color
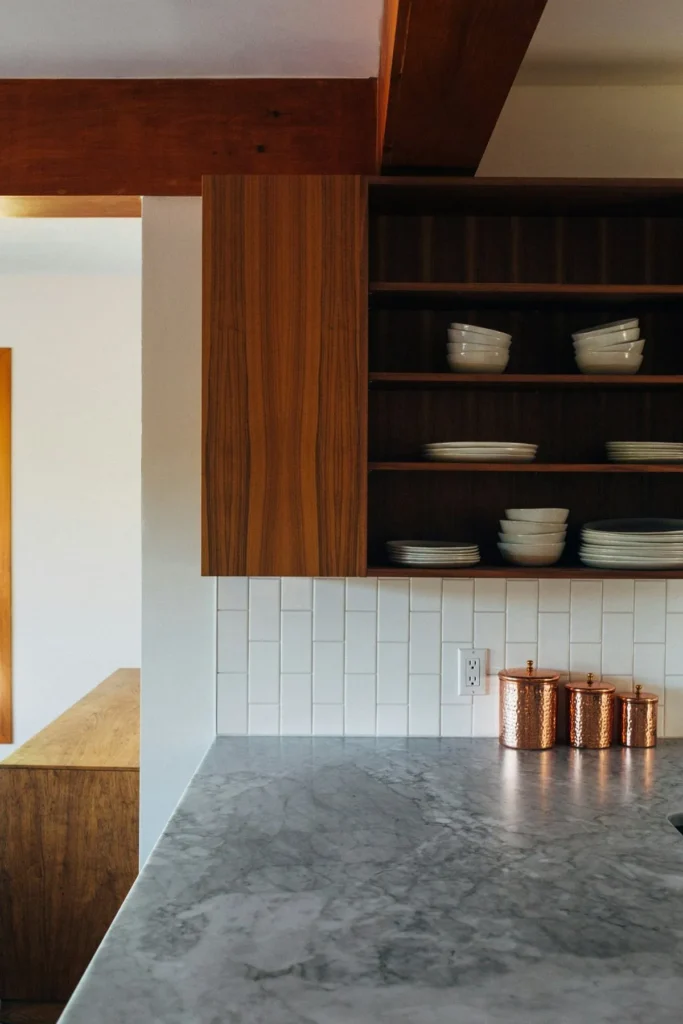
Keep one main color for dishes (white, cream or earthy stoneware) and add accents in one color only.
White and cream dishes are the easiest to style, because they look calm and work with any accent. If your dishes are mixed, group them by color rather than by type, so each section of shelf reads as one block.
Step 4: Use the Rule of Three
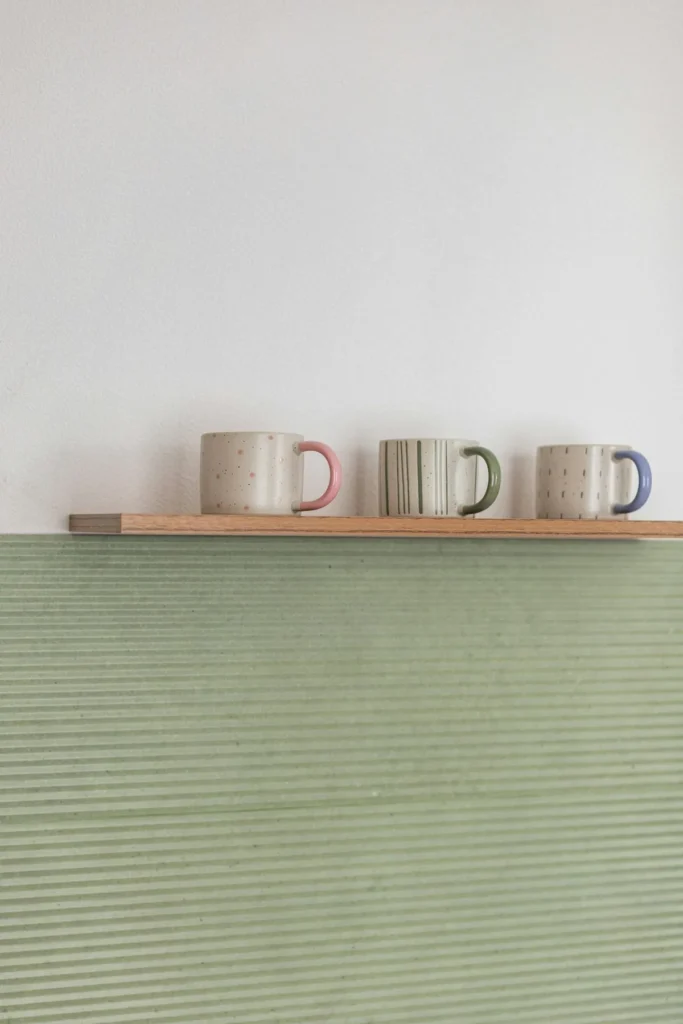
Group objects in threes or odd numbers, mixing heights: a tall jar, a medium bowl and a low dish.
Stagger the groups across the shelves in a loose zigzag rather than stacking similar items directly above one another. This helps the eye move across the whole display.
Step 5: Add Cookbooks
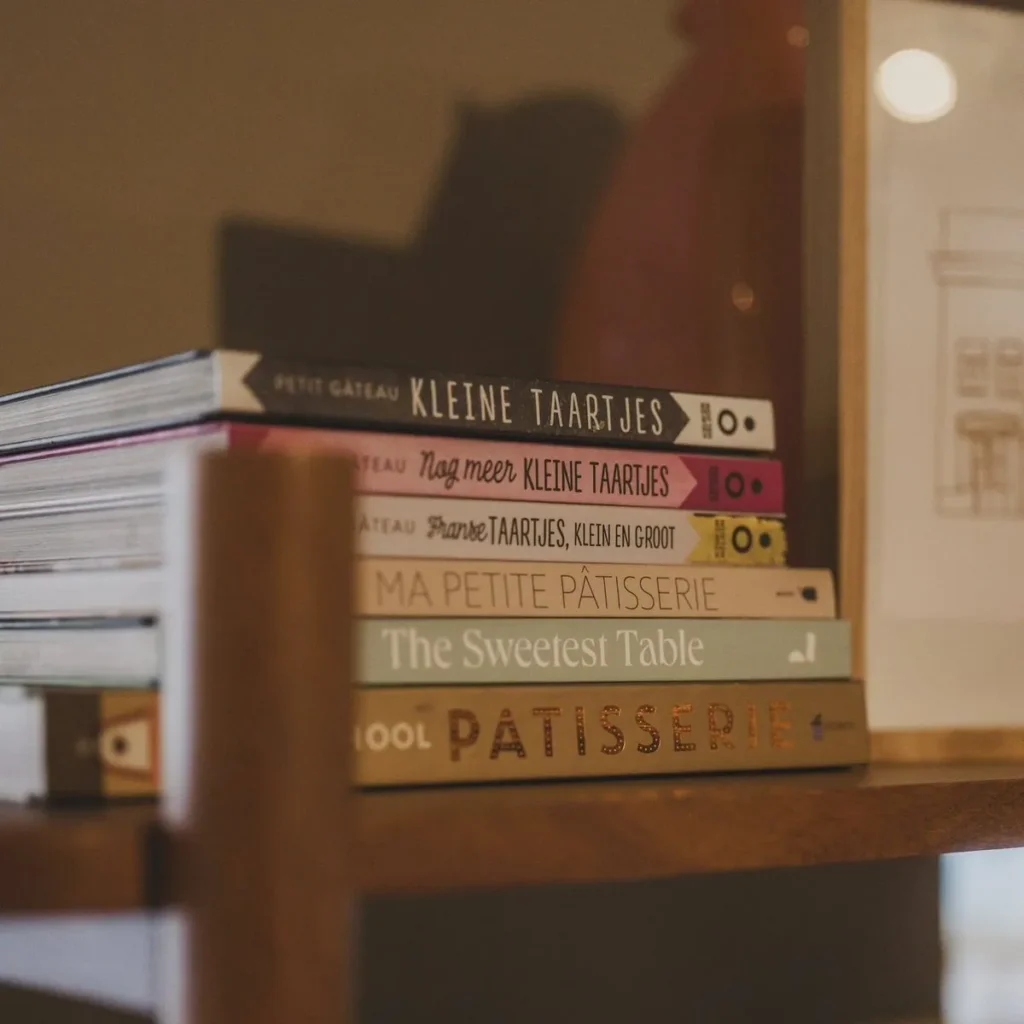
Stack a few cookbooks horizontally with a small object on top, or stand them upright with a bookend.
Step 6: Bring in Greenery
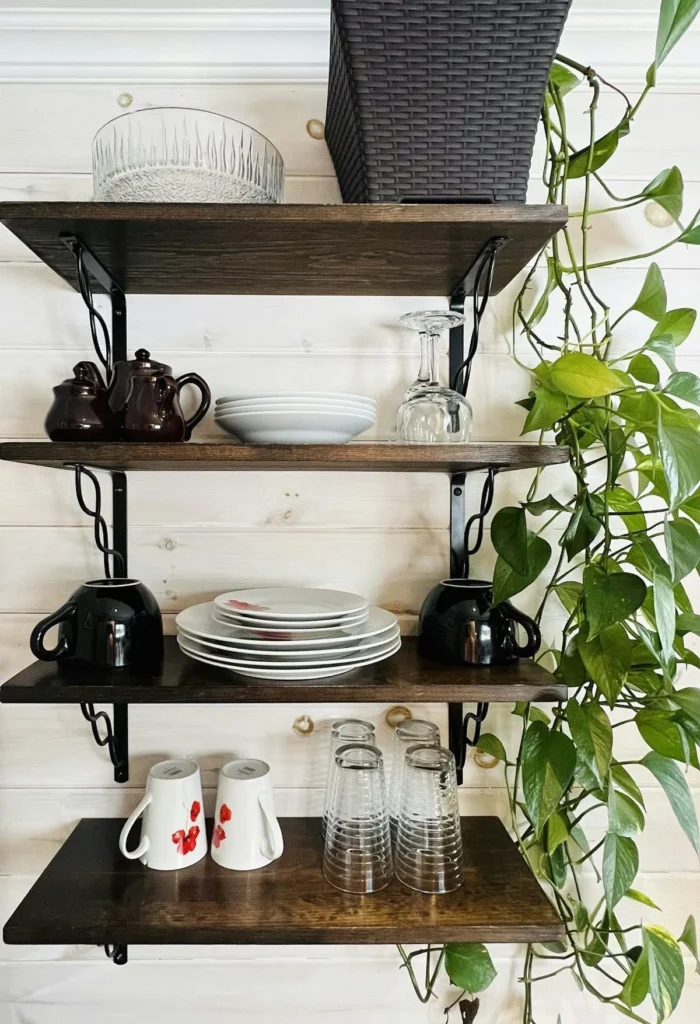
A trailing pothos or a small potted herb softens hard lines. Choose plants that suit your kitchen’s light.
Trailing plants look best on the top shelf, where they can spill over the edge. Herbs need a bright spot, so keep them on the lower shelf nearest the window if you can.
Step 7: Use Jars and Baskets for Small Items
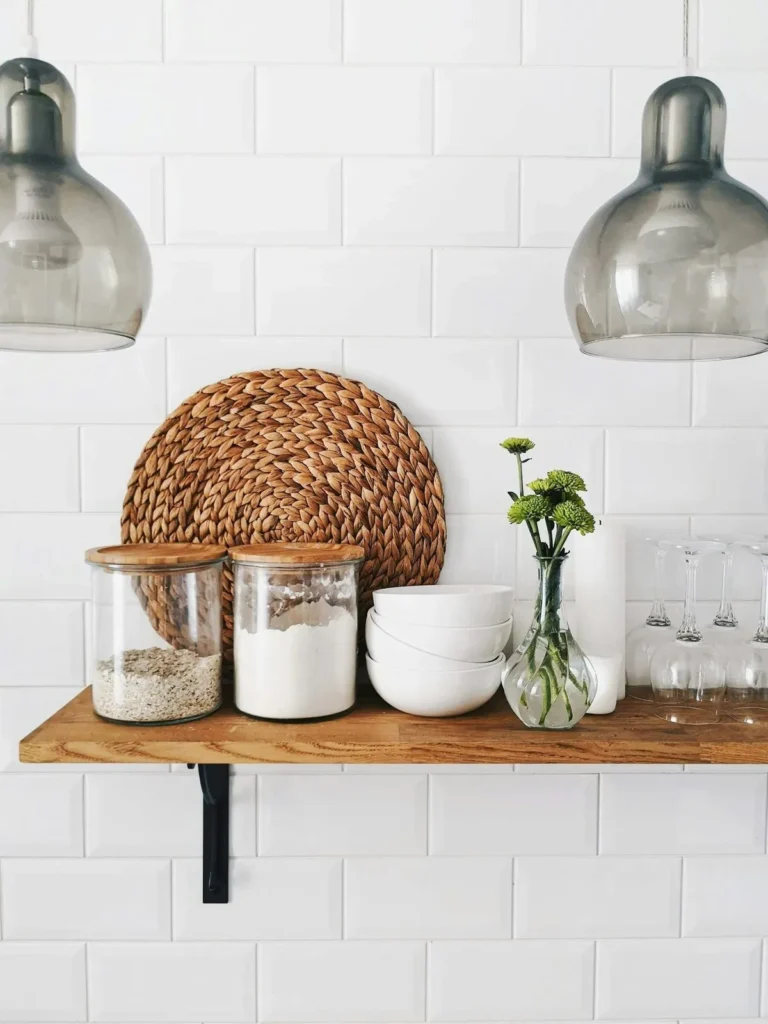
Glass jars for pantry staples and baskets for tea towels or snacks keep small items tidy.
Choose jars with matching lids, and label them simply. Baskets hide things that don’t look tidy, such as snack packets, spare sponges or tea boxes.
Step 8: Add One Personal Piece
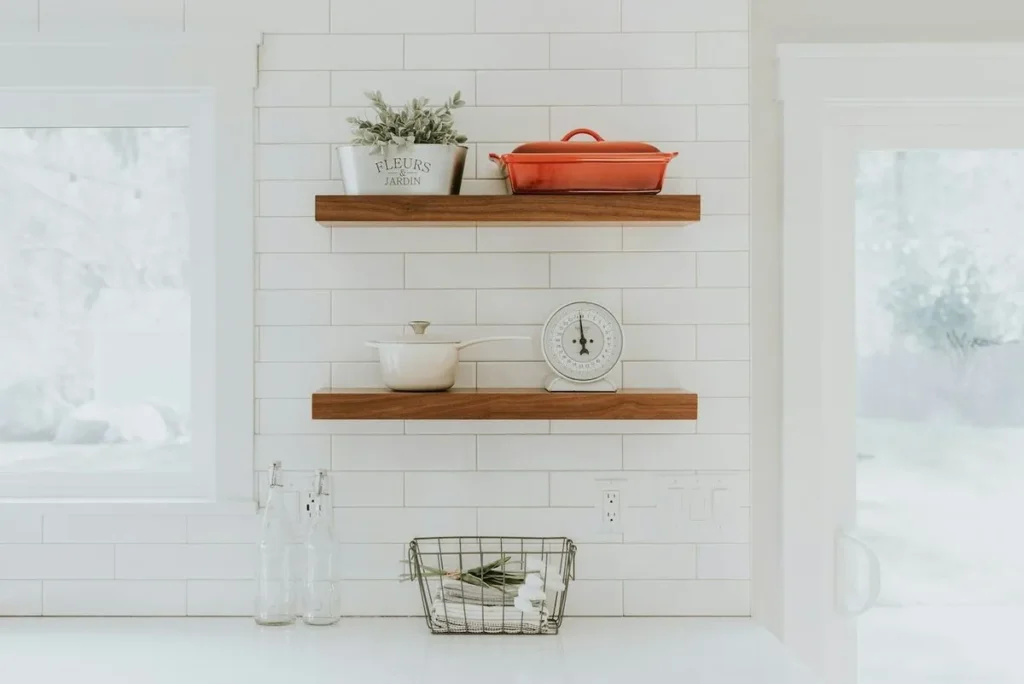
A small framed print, a vintage find or handmade pottery adds personality.
Step 9: Leave Breathing Room
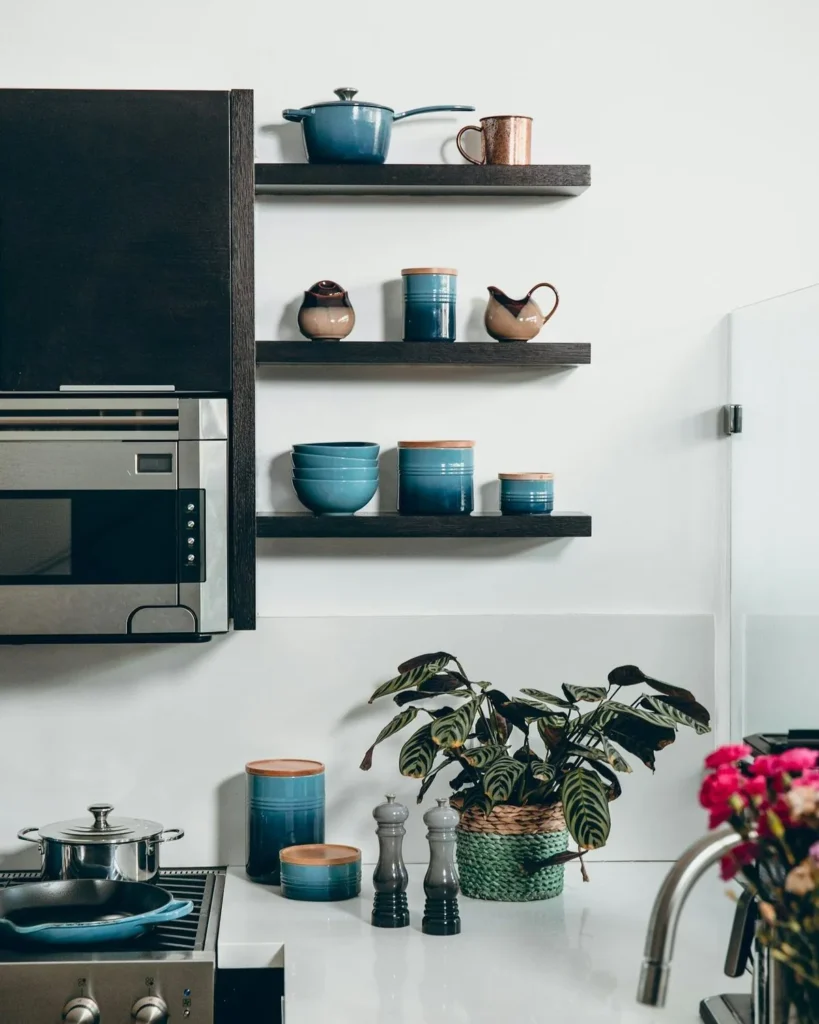
Leave about a third of each shelf empty. Space between groups is what makes shelves look styled, not stuffed.
How to Install and Space Open Shelves
If you are adding new shelves, a few measurements help:
- Height above the counter: hang the lowest shelf about 18 to 24 inches above the worktop, so you can work underneath.
- Space between shelves: about 12 to 16 inches, so tall jars and stacks of plates fit.
- Depth: 10 to 12 inches holds most plates and bowls.
- Weight: dishes are heavy. Fix brackets into studs or use heavy-duty anchors rated for the load.
Renters can use freestanding shelving units or a sturdy rail with hooks instead of wall shelves.
How to Keep Open Shelves Clean
- Use the items on display regularly; they stay clean through daily use and washing.
- Keep shelves away from the stove, where grease settles.
- Wipe shelves and give displayed items a quick wash once a month.
- Store anything you use less than once a month in a closed cupboard.
Styling Open Shelves by Style
- Scandinavian: white dishes, light wood, a few plants and a linen tea towel.
- Farmhouse: stoneware, wooden boards, glass jars and a small basket.
- Modern: black and white dishes, glass and one sculptural vase.
- Boho: mixed handmade pottery, woven baskets and trailing plants.
Open Shelf Mistakes to Avoid
- Too many small items in a row.
- Mixing too many colors.
- Storing rarely used items where they collect dust.
- Placing shelves too close to the stove, where grease builds up.
Frequently Asked Questions
What do you put on open kitchen shelves? Everyday dishes, glasses, cookbooks, a plant, jars and one or two decorative pieces.
Do open kitchen shelves get dusty? Items you use often stay clean. Keep rarely used items in closed cupboards.
How much should I put on open kitchen shelves? Fill about two-thirds of each shelf and leave the rest empty. Space between groups is what makes shelves look styled.
How far apart should open kitchen shelves be? About 12 to 16 inches apart, with the lowest shelf 18 to 24 inches above the counter.
Are open shelves a good idea in a small kitchen? Yes. They make a small kitchen feel lighter than closed cabinets, as long as you keep them edited.
Final Thoughts
Open shelves look best when they hold things you actually use, arranged with a little intention. Start with everyday dishes, group by color, work in threes and finish with greenery, a few cookbooks and one personal piece. Above all, leave breathing room. Restyle once a season and your shelves will stay both practical and pretty.
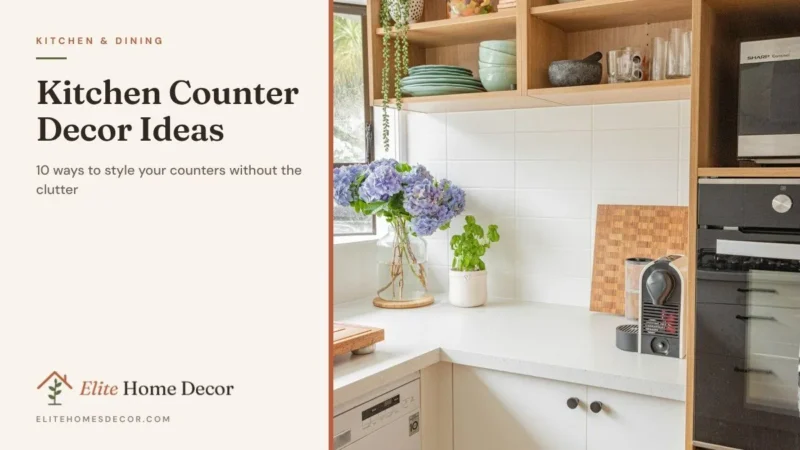
Style the counter too with our kitchen counter decor ideas, or read the main kitchen decor ideas guide. For general styling rules, see how to decorate your home.
Leave a Reply